Before and After Detailing Photos: A Shot List, Phone Settings and Honest Editing Rules
A practical photo system for detailers: a shot list, how to match angles, lighting and phone settings, honest editing rules, and where to use the photos.

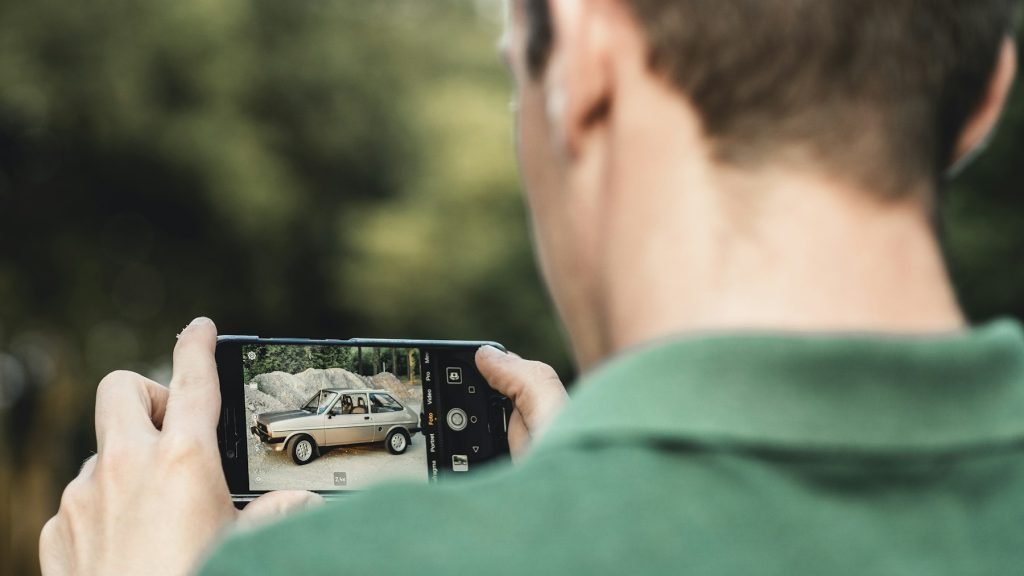
Good before and after detailing photos come from a routine, not a better camera. Take the same set of shots on every job, shoot the before and the after from the exact same spot, height and zoom, use soft and even light, lock your phone’s focus and exposure, and edit both photos the same way or not at all. Do that, and the phone already in your pocket produces honest, matched pairs that show customers exactly what they’re paying for.
This guide gives you a simple shot list, a method for matching angles, light and phone settings for mobile work, honest editing rules, and a plan for where to use the photos: your Google Business Profile, your website gallery, social posts and quotes. There’s no gear to buy and no tricks. The goal is photos that are better because they’re consistent and true, which is what makes a stranger trust a detailer they’ve never met.
No website yet? Our car detailing website builder makes one from two answers, free, with call, text and quote buttons ready for phone visitors.
Why Before And After Detailing Photos Matter
Most people can’t picture what a “full interior detail” or a “one-step paint correction” actually means. A matched before and after pair shows it in a second: the coffee-stained seat, then the clean one. That’s why before and after detailing photos often do more selling than any description you write. They also do a few quieter jobs that are easy to overlook until you need them.
Photos Answer Questions A Price List Can’t
A price list tells people what you charge. It doesn’t tell them whether you can handle their dog hair, their sandy carpets or their faded black trim. A before and after pair from a similar car answers that question without a single word. When a visitor sees a stain they recognize from their own back seat, then sees it gone, they stop wondering whether the service is worth it and start wondering when you’re free. Real before and after shots from your own jobs do this far better than any polished stock image.
A Record That Protects You And Helps You Quote
Detailing photos protect you if a customer later claims damage, because you have a dated record of the car’s condition when you arrived. A scratch on the bumper or a crack in the dash that was already there is much easier to discuss when you can show it. Your photo library also helps you quote. When a lead sends a picture of a messy interior, you can look back at similar jobs and see how long they really took.
Consistency Looks Professional
Consistency matters more than any single great shot. Ten before and after pairs taken the same way, from the same angles and in similar light, look like a professional business with a process. Ten random photos at different angles look like someone with a phone. A steady supply of matched before and after detailing photos also gives you real content for your profile and social pages, every week, without staging anything or paying for a photographer.
Done-for-you websites
Want your website built for you?
ReadySite writes the wording, builds up to 5 pages and sets up your Google Business Profile. $299 one time, and you see a free preview before you pay.
Which Shots Should Before And After Detailing Photos Include?
The easiest way to get better detailing photos is to decide your shots once and take the same set on every job. You stop forgetting the interior before shot in the rush to start, and your gallery ends up consistent without extra effort. A fixed list of about 12 shots covers what customers want to see on most jobs.
Build One Shot List And Keep It In Your Kit
Your list should cover the outside of the car, the inside, and a few close-ups of the problem areas. Think front three-quarter, rear three-quarter and each side for the exterior, then the front seats, rear seats, footwells, dash and cargo area inside, plus close-ups of wheels, stains or trim. Write it on a card and keep it in your kit. Take every before shot first, before you touch the car, including before you move the seats or pull out the mats. Then repeat each one in the same order once the job is done.
It takes a few minutes at each end of the job, and it’s worth building into your quoted time. Label each pair with the date, the vehicle and the service, for example “2026-05-14 Tahoe interior,” in your photo app or folder name. When a lead asks about a specific service, you can find a matching pair in seconds instead of scrolling through hundreds of photos.

Ask Before You Shoot
Mention your detailing photos at booking or on arrival. Something like: “I take before and after photos of every job for my records and sometimes for my page. I’ll keep your plate and any personal items out of anything I post. Is that okay?” Most customers are fine with it. If someone says no to posting, still take condition photos for your own records and simply don’t publish them.
Keep Personal Details Out Of The Frame
Interiors are full of private things: mail with addresses, kids’ names on backpacks, prescription bottles and phone screens. Move them or frame them out before you shoot, and put them back afterward. Blur license plates and house numbers in anything you post. When you’re working in a driveway, angle the shot so the customer’s house number and street sign aren’t readable.
Add Extra Shots For Each Service Type
Some services need extra before and after shots, because the improvement lives in a specific spot a wide photo won’t show. For interiors, get close to the problem the customer booked you for, like the stained seat or the sticky cupholder. A pet hair before and after works best when it includes a seat seam or carpet edge. For paint correction, use a 50/50 shot on one panel, with tape dividing the corrected and uncorrected halves, plus a wider shot of the whole side in natural light.
For ceramic coating, the visible change on coating day is mostly the correction underneath, so photograph that. Water beading shots are popular, but take them honestly: the same panel, the same water, shot on the day, and don’t imply results over time that you haven’t photographed. Headlights and trim make some of the clearest detailing photos. Shoot them straight on at the same height, with a bit of the surrounding panel for context.
A shot list sounds like a small thing, but it’s the habit that makes every other tip in this guide work. Once the list is second nature, your before and after detailing photos stop depending on whether you remembered, and start building into a library you can use for years.
How To Match Angles, Light And Phone Settings
A before and after pair only works if the viewer can compare it instantly. If the before is a wide shot from the left and the after is a close-up from the right, people assume something is being hidden. Matching the angle, the light and the camera settings is the biggest upgrade most detailers can make, and none of it needs new equipment.
Match The Spot, Height And Zoom
Use the car as your marker. For a front three-quarter shot, stand in line with the front tire and a set number of steps out, and hold the phone at the same height each time. Stay on 1x, because digital zoom changes the perspective and makes matching harder, so move closer instead. Open doors the same way, fully open every time, so interior shots line up. Before you take the after, open the before photo, glance at it, then shoot. Pick a rule for orientation too, such as horizontal for the car and vertical for interiors.
Video works as well. A slow ten second walk around the same side of the car, before and after, can be compared just as easily as a pair of detailing photos, and short clips are useful for social posts and ads. Keep the walk at the same pace and distance both times, start and finish at the same point, and hold the phone steady with both hands. A shaky or rushed after clip undoes the trust a careful before clip builds.

Shoot In Similar Light Outside
You don’t control the location, but you can control when and where you shoot within it. Bright overcast or open shade gives even light, accurate color and few harsh reflections, which makes it the easiest light for matched before and after shots. Direct midday sun creates hard reflections and dark shadows, so if you must shoot in it, keep the sun behind you and to one side. Golden hour looks beautiful but flatters everything. If the before was shot in harsh noon light and the after at sunset, the pair isn’t a fair comparison.
The fairness rule is simple: shoot the before and the after in similar light. If the light has changed a lot over a long job, say so in the caption, or move the car into similar conditions if you can. An honest caption like “after shot in late afternoon sun” costs nothing, and customers who notice the difference will appreciate that you pointed it out first.
Light Interiors And Paint Defects The Same Way Twice
For interiors, open all the doors to let light in and shoot from the doorway rather than from inside the car. Turn on the dome lights if they help. For dark footwells, a small LED work light held off to the side gives even light without the glare of a phone flash. Swirls and scratches only show in a strong, focused light reflected in the paint, so for a paint correction pair, use the same inspection light at the same angle for both shots. Whatever light you use for the before, use it again for the after.
Phone Settings That Keep Pairs Consistent
Turn on the grid so your horizon stays level. Apple’s guide to iPhone camera tools explains how to turn on a grid or level under Settings, then Camera, and Google’s Pixel camera tips describe framing hints that show when the phone is straight. Lock focus and exposure too. On an iPhone you can touch and hold the focus area until you see AE/AF Lock, and on a Pixel you tap Lock after tapping the subject. That stops the phone brightening a dark interior differently between shots.
Wipe the lens with a clean microfiber before each set, skip the flash because it creates hot spots on glossy surfaces, turn off beauty or heavy scene modes, and use the main 1x lens, since the ultra-wide distorts car shapes up close. Menu names change with phone updates, so check your own camera’s settings if these don’t match exactly.
Spot, height, zoom, light and settings are five small decisions. Make them the same way twice and your detailing photos will line up so closely that viewers can see the difference you made without reading a word of the caption.
Honest Editing Rules And Mistakes To Avoid
Editing is where honest detailing photos can quietly turn into misleading ones. The customer who books because of your gallery expects their car to come out like the cars in it. If your after shots are exaggerated, you’ve set an expectation you can’t meet, and that ends in disappointed customers and bad reviews. A simple test helps: would the customer recognize their own car in your after photo?
Edits That Are Fine And Edits That Mislead
Cropping, straightening and applying the same brightness or white balance adjustment to both photos are fine. Brightening only the after, adding gloss or sparkle effects, boosting saturation, or removing defects you didn’t actually fix are misleading. If an edit changes what the customer would see standing next to the car, don’t make it. Google holds profile photos to a similar standard. Its Business Profile photo guidelines say photos should be in focus and well lit, with no significant alterations or excessive use of filters. Treat that as your rule for everything you post.
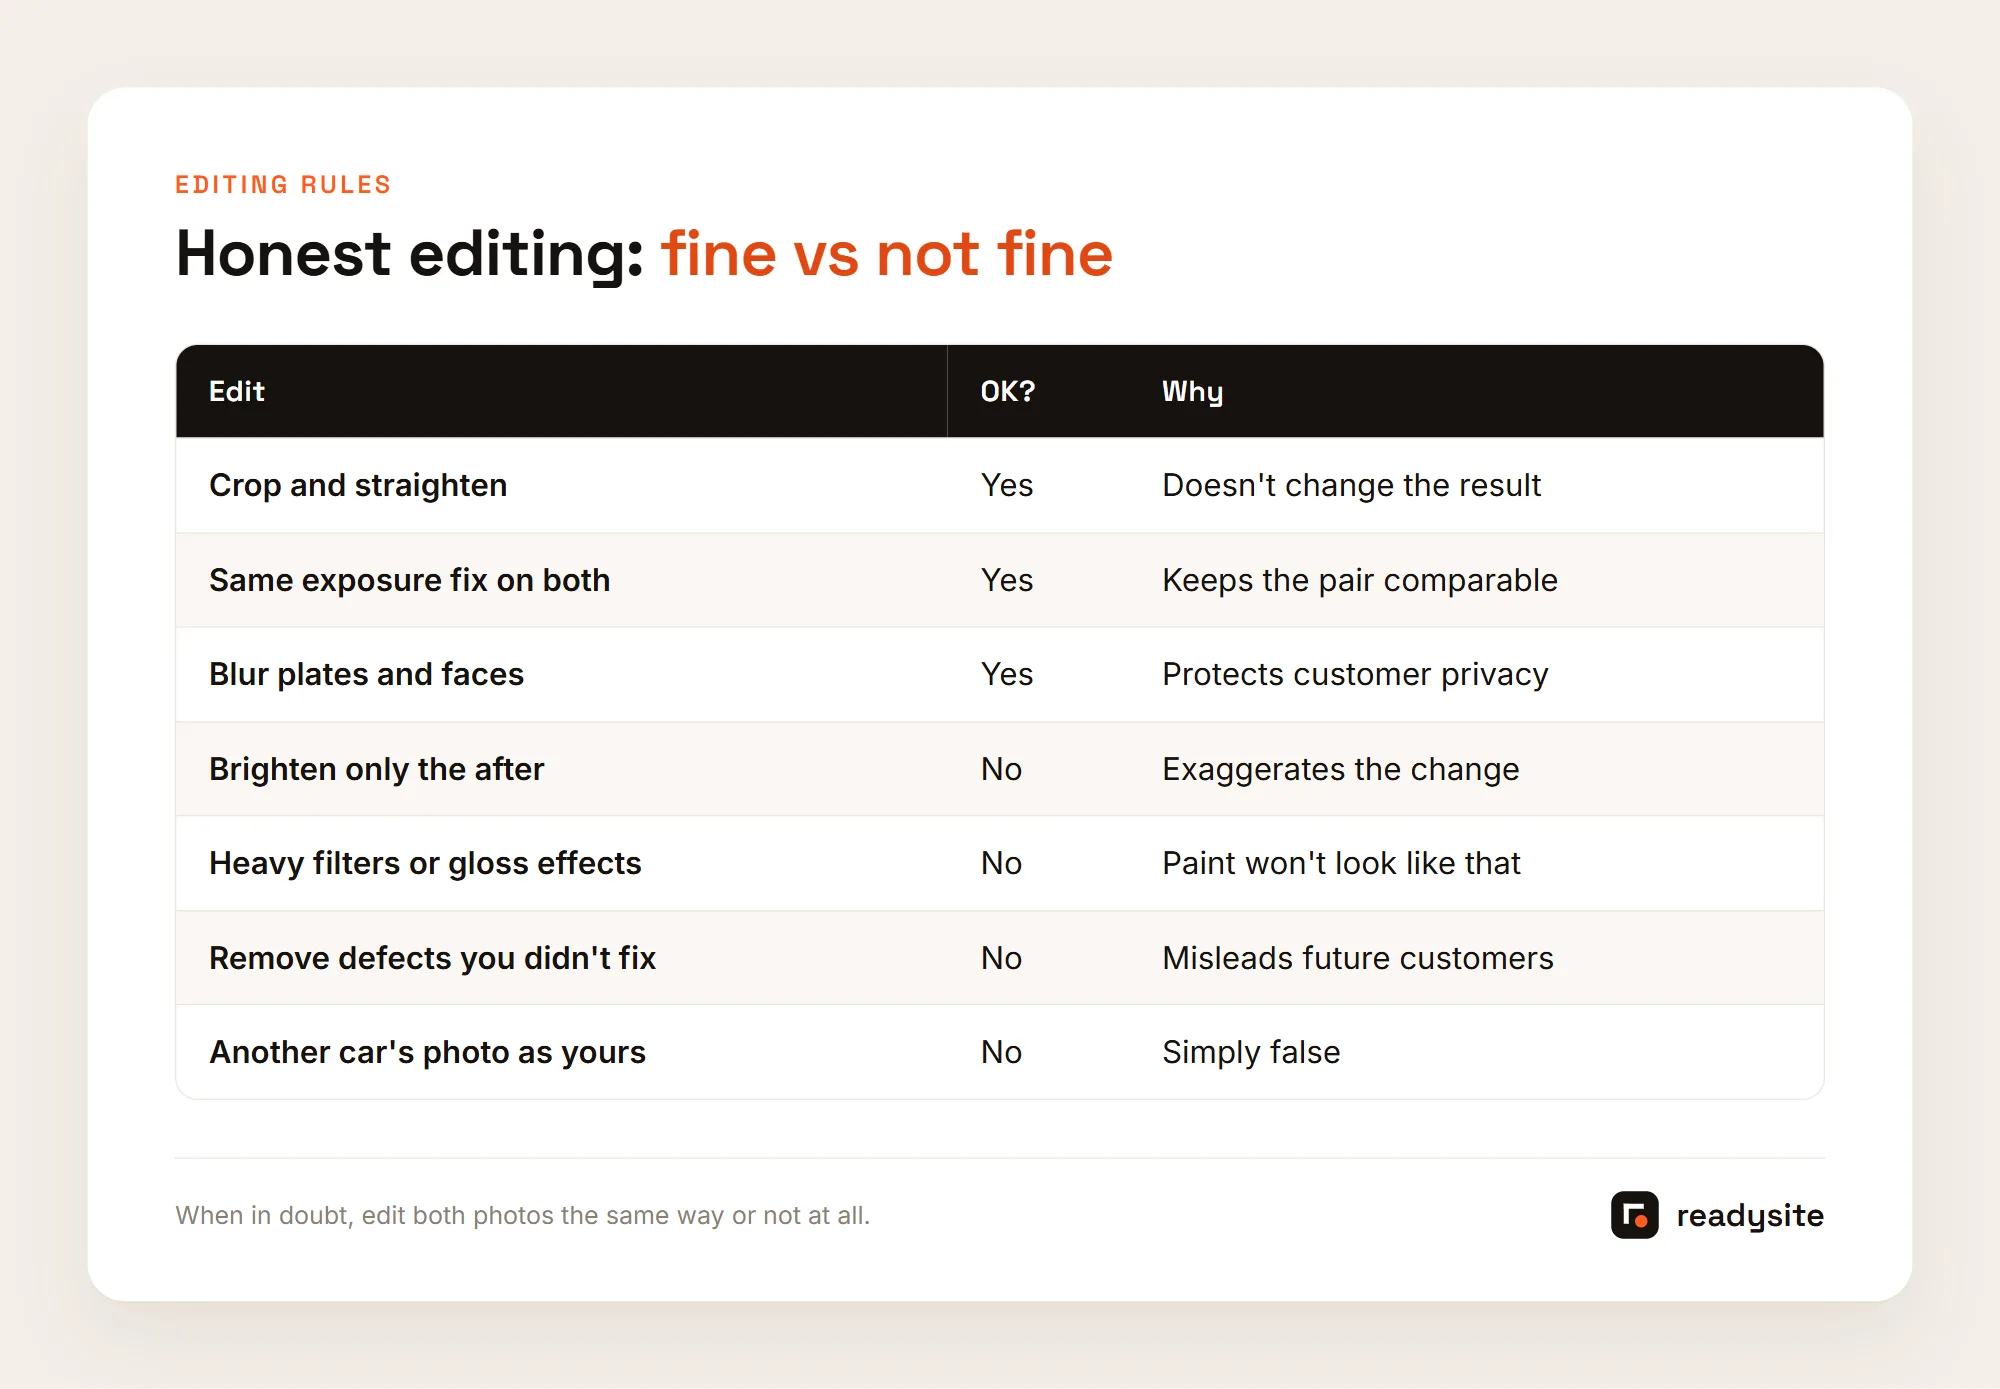
A Simple Editing Routine
Pick the best before and after from each matched set. Crop both to the same frame and straighten them. If you adjust brightness or white balance, apply the exact same adjustment to both. Blur plates, house numbers and anything personal. Then combine them side by side or top and bottom with small “Before” and “After” labels, and add your business name in a corner if you like, without covering the car. The free editing app on your phone can do all of this. Save the originals in a dated folder per job, so you always have the unedited files if anyone asks.
Mistakes That Make Pairs Less Convincing
The most common mistake is forgetting the before. Without it, the after is just a clean car. Close behind are mismatched angles and different light, which invite doubt even when the work is genuine. Over-editing is another. Glossy filters and heavy color don’t match what the customer sees in the driveway. Messy backgrounds also distract from the work, so move the trash cans and coil your hoses before you shoot. Posting private details like plates, house numbers or faces is a trust problem, not just a style problem.
Why Stock Photos Don’t Help
Stock photos of gleaming cars tell customers nothing about your work, and many people can spot them straight away. Once a visitor suspects one photo isn’t yours, they start doubting the rest of the page. Your own before and after pairs, even if they’re less glamorous, show your real process on real cars in your area. If you’re just starting and don’t have many jobs yet, a handful of honest detailing photos from friends’ or family cars is a better start than a gallery full of images you didn’t take.
Honest editing isn’t about doing less. It’s about making sure the difference people see in your before and after detailing photos is the difference you actually made, so the customer who books gets exactly what they expected.
Where To Use Your Before And After Detailing Photos
Good photos are wasted if they sit in your camera roll. Plan a few minutes after each job, or one short session a week, to sort the best pairs and post them where customers will actually see them. Four places do most of the work for a small detailing business.
Your Google Business Profile
Customers browsing your profile often look at photos first, before they read a single review. Add two or three of your best before and after pairs after good jobs, and use them in a weekly update post. Google’s photo guidelines list JPG or PNG files between 10 KB and 5 MB, with a recommended size of 720 by 720 pixels, so a cropped pair from your phone fits easily. Our guide to Google Business Profile for detailers covers which photos to upload first and how to keep the profile fresh.
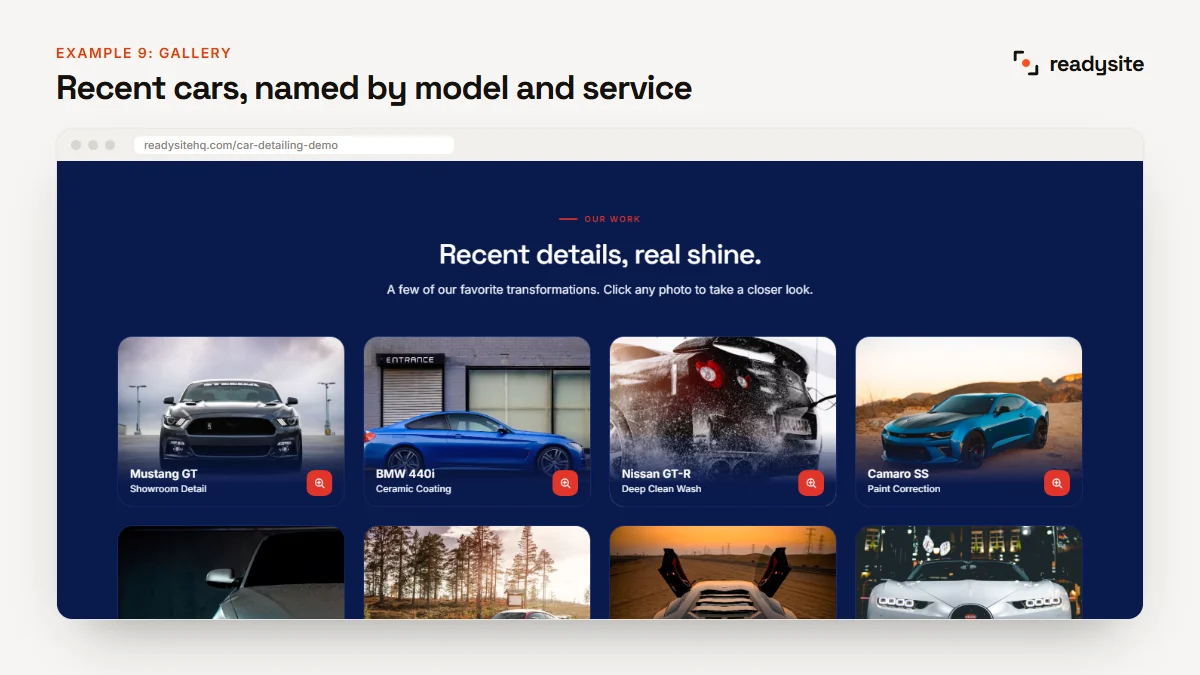
Your Website Gallery And Service Pages
Your website is where a curious customer goes to see more. Organize the gallery by service, such as interior, exterior, paint correction and ceramic coating, so someone who wants an interior detail can find interior pairs fast. Put one strong pair next to each service on your services page too, not just in a separate gallery. You can build your car detailing website free with ReadySite and add your photos, services and service area, with tap-to-call and a quote form right beside them. See the Apex Auto Detailing example site for how a gallery and services can sit together.
Social Posts And Ads
Use one before and after pair per post with a short caption: the vehicle, the town, what you did and roughly how long it took. Short before and after clips work well in stories and reels. If you run paid ads, your best pairs are usually your best creative, since they show real work instead of a slogan. Our guide to detailing Facebook ads covers how to use them in a small budget campaign without wasting money on the wrong audience.
Quotes And Follow Ups
When a lead asks “can you get this stain out?”, send a before and after pair from a similar job. It answers the question better than a promise ever could, and it sets an honest expectation at the same time. Keep a small album of detailing photos on your phone with your best pairs sorted by service, ready to share by text or WhatsApp in a few taps.
Wherever you post, the same rules apply: matched angles, similar light, honest edits and no private details. Do that consistently and your detailing photos keep working for you long after the job is done. To show the pairs on your site, a before and after slider lets visitors drag between the two shots.
Conclusion
Great before and after detailing photos are a habit, not a talent. Write your shot list on a card and keep it in your kit. On your next job, take every before shot first, mark your spots, and repeat them after from the same position, height and zoom in similar light. Edit both photos the same way, blur anything private, and post your best pair to your Google profile and your website. After a month of jobs, you’ll have a library of honest pairs that does a lot of your selling for you.
Want a site built around your gallery? Request a free preview of a done-for-you site: ReadySite writes the wording and sets up your Google Business Profile for $299 one time, and you only pay if you like it. For turning those photos into bookings, see our plan for your first detailing customers.
Done-for-you websites
Want your website built for you?
ReadySite writes the wording, builds up to 5 pages and sets up your Google Business Profile. $299 one time, and you see a free preview before you pay.